A.D. Drumm Images, LLC – Landscape, Portrait, and Fine Art Photography in Rochester MN Photography

December 2, 2014

Tutorial Tuesday – My Exposure Tutorial

Filed under: General photography,Tutorials — Tony Drumm @ 2:07 pm

OverUnderExposed

I have been asked a few times about exposure – how do you set it, what do the settings mean, why take the effort to select any particular settings rather than just letting the camera do its thing by itself. At its core, it’s pretty easy to grasp. We can pretty easily tell when a photo is too dark or too light. The controls which determine exposure help us achieve the level of brightness we want in a photo, but they also play an important role in creating a mood and conveying to the viewer the image we have in our mind.

I started to write a blog post about exposure, but I didn’t finish it. Sometime later, I again attempted to write such a post. And again, I left it unfinished. I like my posts to present something you can quickly peruse and spend just a few minutes reading and (hopefully) enjoying. And I like to sprinkle in some tidbits about the craft as I see it.

However, it turns out that just doesn’t work in this case. Exposure is a central component to the art of photography. It’s something every photographer should understand, at least to some level. And I just decided I couldn’t do it justice here in the blog. So I scrapped that idea and decided to write something more comprehensive.

I took some time, took a handful of photos specifically to help explain the concepts visually, and wrote what I referred to myself as an eBook. But, it’s not all that long – only 11 pages – so I guess it’s more of an eEssay!

I enjoyed putting this together, and perhaps if folks find it useful, I’ll tackle one of the other core concepts. With Christmas coming, and the possibility of a camera under the tree, I hope this will be timely information.

Go to the page here to download the PDF!

August 28, 2012

Car show shooting – Tutorial Tuesday

Filed under: General photography,Tutorials — Tony Drumm @ 7:39 pm

My friend, Lance, drove me up to the Twin Cities on Sunday to attend a car show put on by the Wheels of Italy group. In his Ferrari, of course. Wheels means basically anything with wheels that originates in the great country of Italy – cars, bikes, motorcycles, scooters. There are a few other interesting non-Italian vehicles that show up, but they are relegated to the back lot, near the porta-potties!

Shooting at car shows is challenging, so I thought I’d frame this post as a Tutorial Tuesday entry.

The biggest challenge is the lighting. Car shows invariably are parked around noon. You are dealing with mid-day sun – bright, harsh, overhead. All the things you try to avoid if possible. Take that harsh light and blast it all over some of the shiniest objects you’ll every want to photograph. So, what do you do?

I tend to go in tight. I like to shoot details. Shooting a vertical object with overhead lighting is not necessarily bad as you’ll get some decent shadows if you’re lucky. Shadows define the subject. They give it depth and interest. Joe McNally says someone (and editor?) once told him, if you want something to look good, don’t light all of it. Shadows.

The wheel is a good example, and I think there are some nice shadows around it. This is also a good time to stretch your post-processing software. The Lightroom clarity slider is your friend. Cars just love crisp contrast.

I also like to purposely shoot reflections. The Ferrari prancing horse shows some interesting reflections that make you want to look in closer and see what’s hidden in there. I shot a silver symbol that turned red from the car parked next to it and set it off, made it more interesting.

Interiors can work, too. The light has to enter windows (unless the car is topless!), bounce around inside, and gives us something more to work with. It’s a type of shot that’s becoming popular for HDR – high dynamic range. You shoot several similar images changing the exposure then combine them using special software. I’ve written about that process here before, but I never found a shot I really wanted to use that technique myself this time. Notice that it helps to avoid including the outside of the car with the interior shot. HDR would allow that, but without using that technique, the exposure differences would be troublesome. Even the top of the dashboard can stretch the exposure range needed.

Another big issue is people milling about. They don’t really add to a photo of a car, unless your objective is to document the car show as such. That’s okay, but not what I was after. Keeping the image tighter like the shot below can help – there’s just fewer places for the people to be, unless they walk between you and the car. Or you can try to capture the image you want and use the power of Photoshop to save the day.

You can use both techniques and have less work to do as I did in this shot of the silver Lamborghini, with only the small corners needing to be managed. But there remains some reflection problems. The cars are parked among others. There may be people visible in the reflections. Colors you don’t want.

The Lamborghinis have the advantage that many of their panels aim up at the sky, limiting the problem. You’ll never get a perfect car photo at a show – without a ton of work (which makes it less than a perfect photo in my thinking). But you can still make them presentable. I used HSL (hue, saturation, luminosity) layers to alter some colors or tone them down. On the silver car, I also used a bit of content-aware fill to make an adjacent car less prominent, disguising it somewhat. It tended to over smooth large areas making them very noticeable, so I did this carefully and slowly.

The silver car shot is my favorite from the day. What can I say, I love the lines and design of these cars to begin with. After getting it closer to what I wanted, I used Nik’s Color Efex Pro 4 to boost the contrast. CEP4 has several contrast-related filters – at least 4. They do wonders for a shot like this. Frankly, when I pushed up clarity in Lightroom, the change was amazing and made me suddenly realize I had a shot I could work with.

Hope you find a few hints in here for the next time you’re at a car show. I did notice lots of other photographers also getting low, shooting tight. Probably many good images were produced that day. Sadly, I didn’t realize until I was home that I never shot Lance’s Ferrari! What was I thinking?

July 31, 2012

Tutorial Tuesday – Composition 101

Filed under: Tutorials — Tony Drumm @ 6:04 pm

It’s time for another episode of Tutorial Tuesday! This time, I’m aiming my comments mostly toward the casual photographers, those who take lots of snapshots but would like to make those pictures just a bit nicer. There are a some basics to composition that are pretty important, and I could spend a post or two on some of them.

But I want to go right to the beginning, to a couple of hints that will make your shots look more planned, more thoughtful, and easier to view. If you consider yourself a pretty good photographer and – more importantly – if other people do, then you might want to skip the rest of this post (and, maybe, go out and take some photos!).

Okay – so what are these basics? Well, first of all, we need to understand what we’re trying to do. We’re trying to capture the view our eyes see and plop it onto a two-dimensional medium. And we’d like the viewer to see at least a little bit of the view we had. Fundamentally, that’s sort of hard to do. So, number 1 is: Recognize our vision is only a little bit our eyes and tons of our brains.

What’s that supposed to mean? It means when we look, we see exactly what we want to see. Our brains filter out all the junk. We put our subjects in the middle of our view – where our eyes are strongest. We focus on our subjects. We ignore other stuff unless our brains decide it’s important – like that bowling ball hurling toward your face!

But plunk that 3D view down on a screen or a piece of paper, and it all changes.

The first, most important step that will help you take better pictures is to look through your viewfinder (or at your view screen) with this awareness in mind. Look at your subject, but look around the rest of the frame. Is the subject where you want? Is there lots of dead space – we don’t need that (unless it’s a plan). Is there junk like a tree growing out of your child’s head? Is your family a tiny speck within the frame?

It takes just a second or two, but it takes practice. We often just rush, seeing only what we want to see and not what’s really there, or what else is there. Next time, just before you press the shutter, look around the frame.

Number 2 is: placement of the subject. We look right in the middle of our field of view, we focus there. But that’s the worst place for your subject in a photo. When I hand someone a camera to take a picture – say a group shot where I’m in the group – I nearly always know how the group will be composed. All the faces will form a line dead-center across the photo.

For some reason, young children often don’t have this problem, and it seems to be less prevalent among the young who’ve grown up with a camera/phone. But it’s still a common problem. Think of it this way. All the space above the heads is  wasted. Instead of filling the frame with the subjects, we have them resigned to the lower half of the photo.

It’s easy to fix and it relies on the same technique as above. Stop, look, think about the image you’re making before pressing the shutter. Don’t be afraid to reframe the shot, aim the camera below the faces and take a better picture. The beauty of digital is, even if you forget, you can think about it after the shot when you review the image on your LCD. Oh! I need to recompose! Let’s do that shot again!

As I said, these are a couple very basic hints. We can go into the rule-of-thirds and other aspects of composition later. But if you just stop, look, think, and recompose, you’ll be a huge step ahead, and your pictures will look so much better!

June 26, 2012

Tutorial Tuesday – Depth of Field

Filed under: Tutorials — Tony Drumm @ 7:40 pm

I thought it might be fun to set aside my normal blog subjects and do something more like a tutorial on some aspect of shooting. What better day for a tutorial than Tuesday, I reckon!

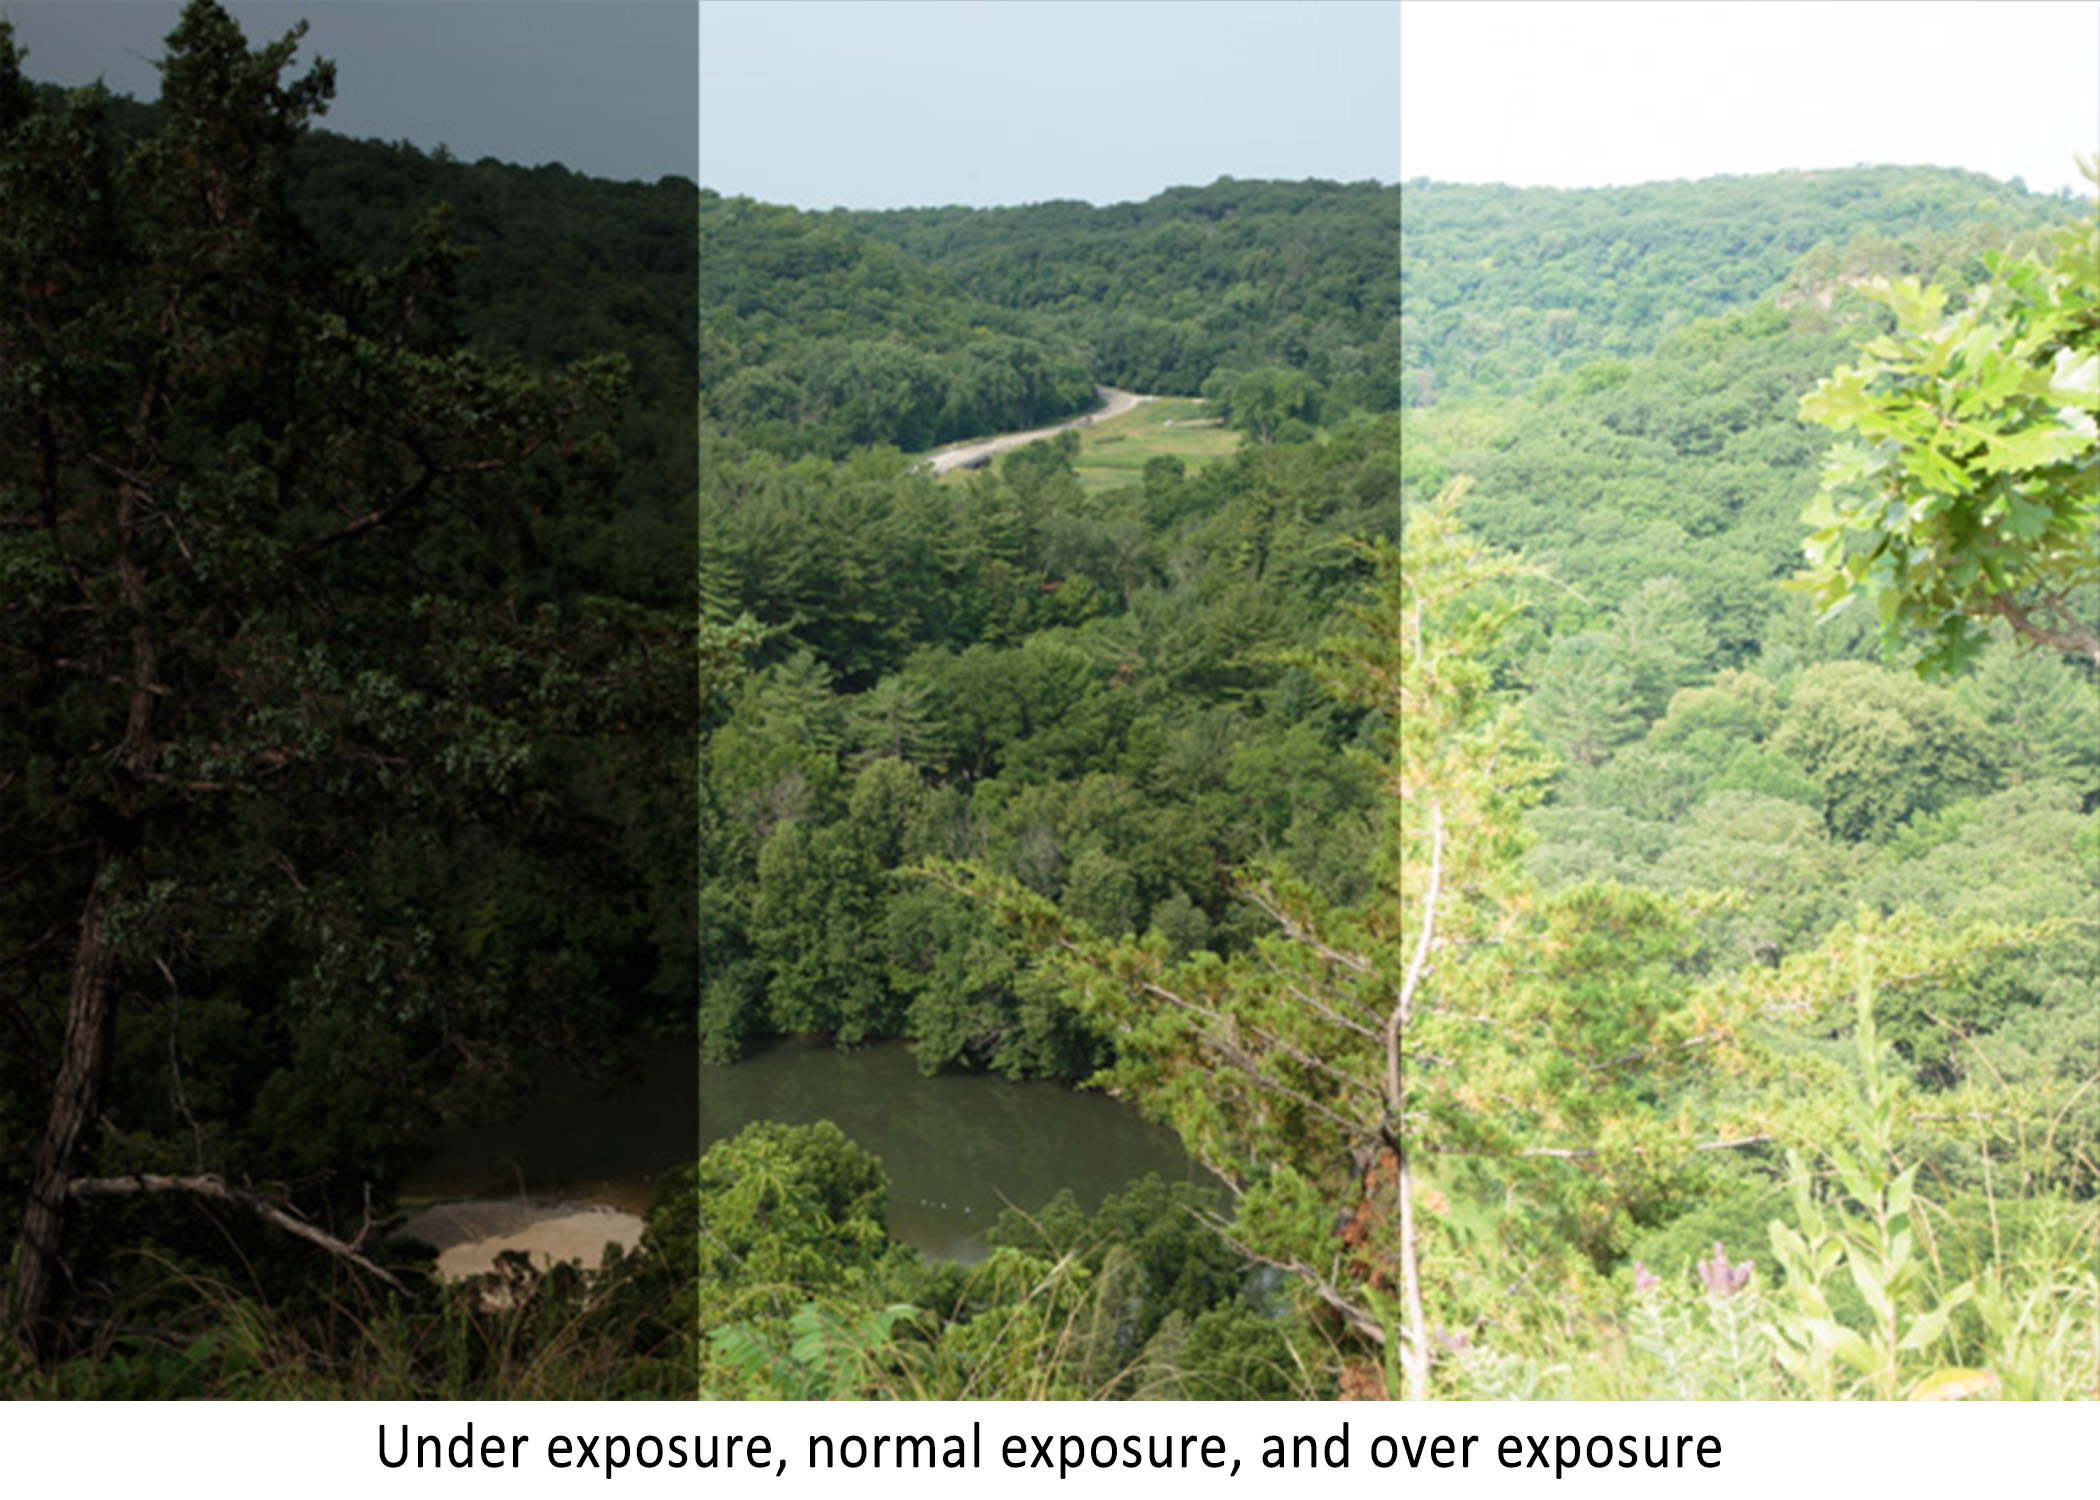
The subject for this little tutorial is depth of field, or maybe, aperture. We often like to refer to an exposure triangle made up of shutter speed, aperture, and ISO. These three settings work together as a team to determine the exposure of a photograph. How bright or how dark the image is. What settings should we use? I could devote a rather lengthy blog post or two or many on exposure.

But today, lets just discuss aperture. This setting, in many ways, is arguably the one that sets the tone and emotion of most photographs. It’s really that important. I prefer to shoot in manual mode to control all three settings directly, but many pros rely heavily on Aperture-priority automatic mode. They want to take advantage of the terrific technology we hold in our hands, but controlling the aperture is considered critical.

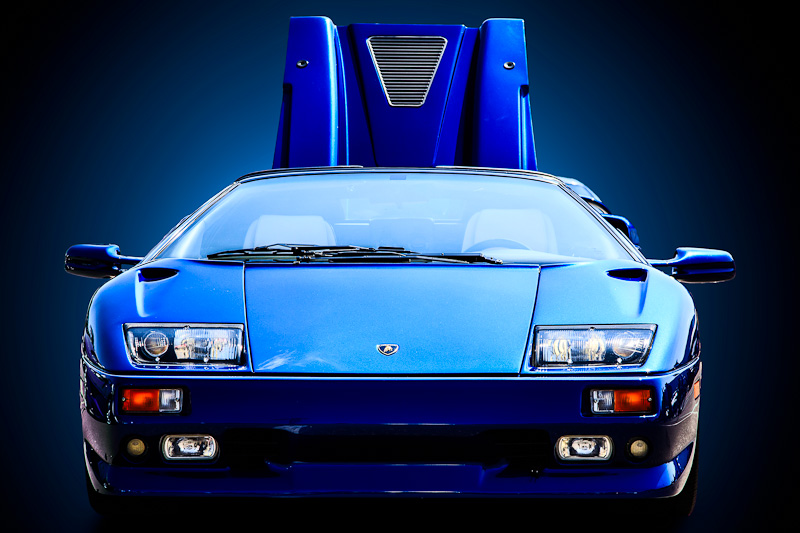
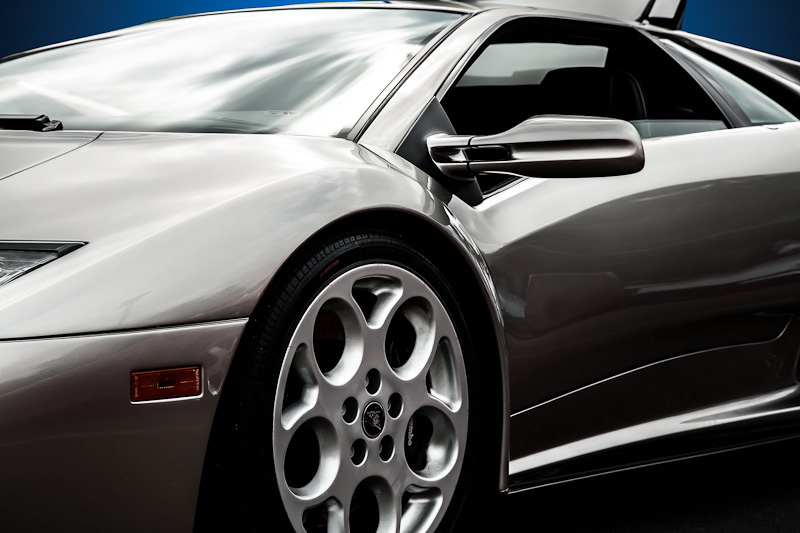
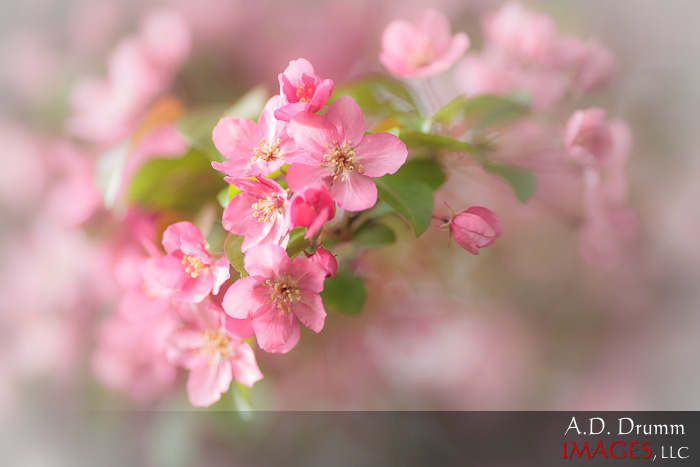
When the aperture value – the number – is low, the opening allowing light through the lens to the sensor is large. This produces a shallow depth-of-field or depth-of-focus (DOF). That’s what I used for the photo of the blossoms above – the largest opening I could with that lens. In this case, it was f/2.0. Shallow DOF means very little is in focus. As we stray closer or farther from the camera, things become blurry.

Why is that important? We suffer in photography from having a 2D static image to present our viewers a glimpse into something we saw, something we felt. Having only the main subject in focus helps to pull the viewer to what we want them to see.

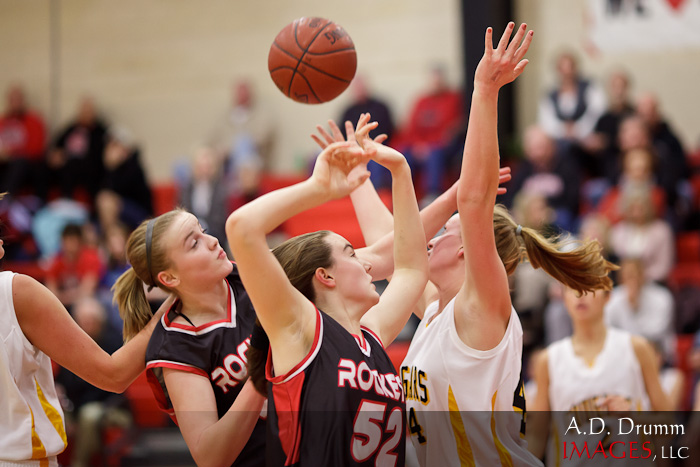
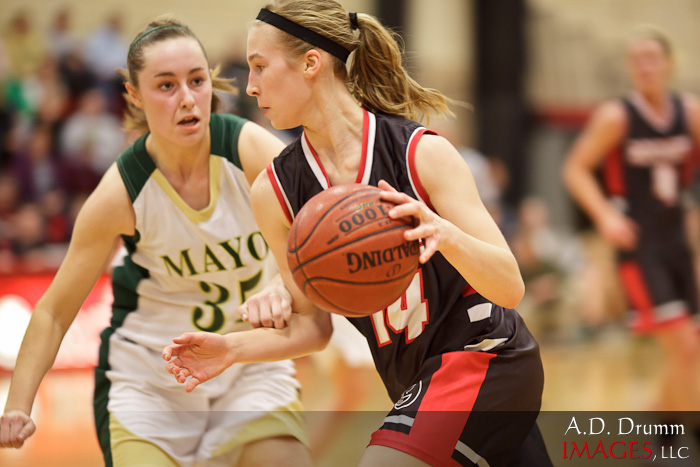
Sports shots are great examples. Why do the pro photos in sports magazines look so much better than the common shots we see of local sports? A big reason is making use of shallow depth of field. We don’t really want to showcase the spectators in  the stands behind the players. We don’t even really care about the players back away from the action. By using a shallow DOF, we keep the focus – literally – on what’s important.

Aperture is key here. However, it’s not the only thing that determines the DOF. The lens makes a difference. A long telephoto lens tends to produce shallower DOF than a short wide angle lens at the same aperture setting. And, the farther the subject is from the camera, the wider the DOF. Photographers who shoot close-ups often have to struggle to achieve a DOF wide enough to keep all of the subject in focus.

Also, some lenses have a smaller maximum opening. We call those slower lenses and those with a larger maximum faster lenses. Faster lenses are more expensive. Sometimes, they are hugely expensive. They are harder to make especially to make well – meaning they produce good quality images.

We don’t always want shallow depth of field, either. We can shoot a portrait with one eye in focus and one eye out of focus. It’s a choice and it sometimes is what I might want. But not always. So, knowing how aperture, distance, and lens combine to produce the DOF I want is important. And, you can see that maybe it’s something I don’t want to leave to the camera to decide. It just doesn’t know what I’m actually trying to do.

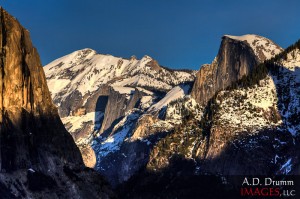
Commonly, we’ll use a wide DOF for landscape images. Not always, but often. We might use f/11, f/16, f/22. Remember, larger numbers mean smaller opening and wider DOF.

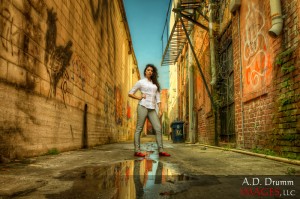
And for an environmental portrait, a wide DOF might be appropriate. We want to showcase the environment, show how our subject really is in this place and what that place is. We’ll use other techniques to pull the viewer to the subject like leading lines above (which all lead to the subject).

DOF really is one of the keys that takes your photos from snapshots to a level above, photos that just look better. When you’re looking at good photos, ones that pull you, make you go “Wow!” – take a moment to study how the photographer achieved that. How was DOF used to make the photo better?

Next time you’re shooting, take the camera off auto-everything or even “P” (for program – not professional!), and set it to aperture priority (Av for us Canon shooters). Set an aperture and shoot. Change it up, shoot some more. Try using the largest setting your lens offers for a while shooting nearby subjects, far away subjects. Learn how this one setting affects your photos.

Powered by WordPress